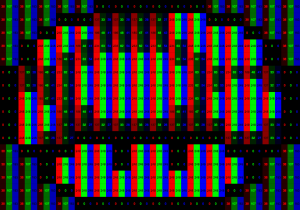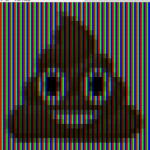
I use Google Spreadsheets pretty often at work, but for more mundane typical scenarios such as budgets, time and scope estimates, and so on. However, as I played with formulas and some of the built-in features, I was curious to what other non-productive things I could create. This lead me to a project I recently completed that uses the spreadsheet grid to recreate images. This was recently featured in the 2nd annual Firstborn Art Show (All These Things 2016) under the title Pixcell Images.
You can check out the entry here: Pixcell Images by Eric Decker. There are about 20 images that rotate every 15 seconds.
There’s also a version that accepts and shows user-submitted images via MMS, which you can text to at 585-672-6394 (try it out while it’s still active!)
The concept is pretty simple — I display small images (up to 32 x 32) in a spreadsheet by coloring three cells for each pixel’s red, green, and blue value. Basically, more or less how a typical monitor or screen works. A separate external script processes the images and sends the data to the Google Spreadsheet, but the spreadsheet processes and displays the “image” all on it’s own without any additional scripting.
It was a fun process, so here are some of the interesting steps it took to achieve the final results.
Processing the image
The first step is to extract the image data to be used in the Google Spreadsheet. This is pretty straightforward and is done outside of Google Docs. I did some of the initial work using Processing but then ported it to PHP so it could be used as an API for the UGC submission. All this script does is resize the image if it’s too large and then loops through the image pixel by pixel and reads and stores the red, green, and blue values into an array. This is then sent or entered into one of the sheets as the raw data (titled “Form Responses” in the links).
The image data then needs to be parsed, so it’s broken from the collapsed string into actual cells, using the SPLIT formula. One tricky part here is that each red, green, and blue array needs to be it’s own row, otherwise the limit of number of columns is reached.
Displaying the image
The RGB values of the image then need to be arranged into sheet. A formula in each cell looks up the corresponding pixel value based on the cell’s position, using ROW and COLUMN. Since the same formula is used in every cell, knowing what channel to use is achieved using a modulus operation in the formula.
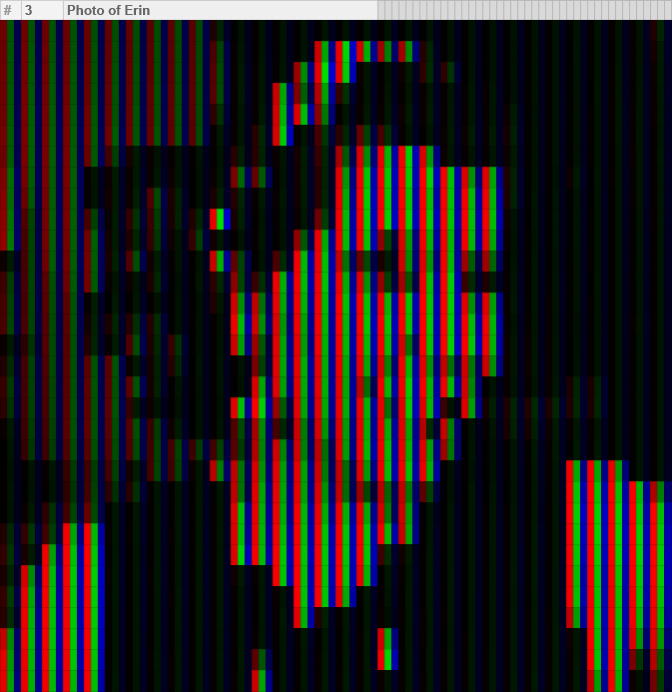
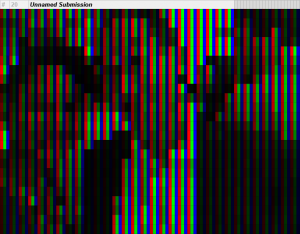
The magical part is the colorization. Using the Conditional Formatting color scale feature, each cell is colorized from black to it’s color based on the 255 value. This is done for the red, green, and blue values. If you were to view the cell’s with their value, it looks like the following:

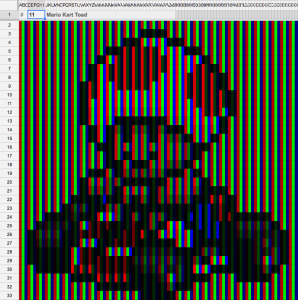
Pretty straightforward – for for a full red channel, the value is 255 and the cell is bright red. For a pixel with no red, the value is 0 and the cell is black. Since the RGB color space is additive, white consists of full values for red, green, and blue. This isn’t obvious until you’re far enough away. You see an example of a full image with it’s values displayed here.
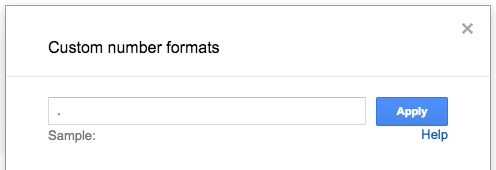
One neat little trick to make the final result better was to hide the cell value (the actual text). The value must be present in the cell in order for the Conditional Formatting to read it, so it was make invisible using a custom number format. Normally you’d use this to display a percentage or custom date, but by simply using a single period as the format the value is not shown.
Submitting data via API
I wanted an easier way to programmatically send the image data to the spreadsheet instead of having to copy and paste it from the Processing script. Plus, I’d need this anyways for the user-submitted version anyways.
To do this, I set up a Google Form with the fields for name, width, red channel, green channel, and blue channel. The response destination was then set to be the spreadsheet. Now, from what I’ve found Google doesn’t have an open REST API to submit a form response. However, when you submit a response for a Google Form, you can capture it and see the POST request that it makes.
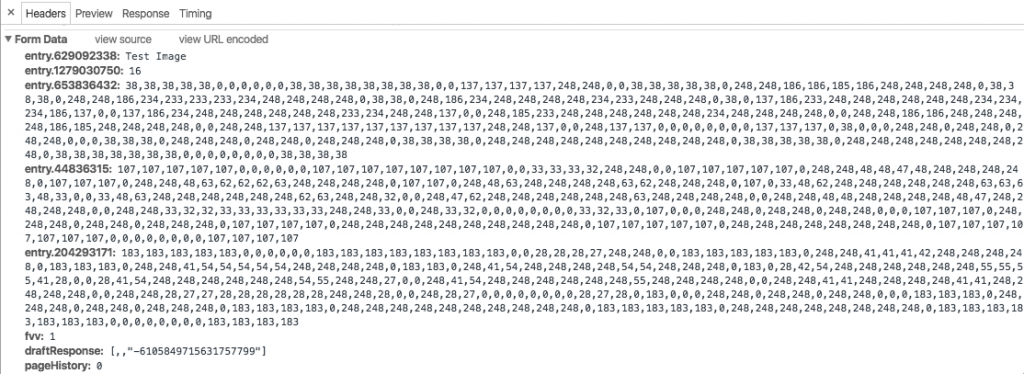
You’ll notice that the POST variables don’t have human-friendly names, instead they’re call something such as “entry.629092338”. However, they are in the same order that the form is laid out in, so it’s very easy to remap this.
All that needs to be done next is to make a cURL request to https://docs.google.com/forms/d/e/DOCUMENT_ID/formResponse with the POST values replaced with what is generated from the image processing script (and the document id replaced in the URL).
Cycling the images
One of the lat steps was to figure out a way where multiple images could be displayed. This could be done by separating each image into it’s own tab, but that could be a bit clunky and wouldn’t work for the intended intended space which was a gallery. Instead, it needed to be something automatic that cycled through the different images.
The image to be displayed is determined by the value of a single cell on the spreadsheet. In a manual setting, I could switch this to be anything I wanted to preview. To make it automatic, I could increase and cycle this value using a script, as Google allows you to run custom JavaScript on your sheets. This can be tied to a trigger, one of them being time based. However, the shortest increment was 1 minute which would be too slow.
Instead, I decided to make this update externally. I creased a new fake form, which I called my “Trigger Form”. All this form submits is the value of 1. Then, in the spreadsheet I made the value that is used for choosing the image be the sum of all the submission modulated by the maximum number of images. The formula looks like this: =MOD(SUM('Trigger Responses'!B:B),MAX(List!A:A))+1 , where “Trigger Responses” is where the form gets submitted to and “List” is a sheet that simply lists all the images.
The trigger submission script was then tied to a cron job. Since a cron can run at most once every minute, the script included a while loop with a sleep function so that the submission could be triggered every 15 seconds. Maybe not the best solution, but it works.
Submitting via mobile
In order to allow users to create their own submission at the gallery, I wanted to allow them the option to send an image via their smartphone. I figured the easiest way to do this would be via MMS – just have the user send a text message with an image. This was implemented using the Twilio API and was actually very quick and easy to add.

All that needed to be done is have Twilio send the data to a REST endpoint. That script looks for the POST variables “MediaUrl0” for the image URL and “Body” for the textual content that is used for the optional image name. (The nice thing about Twilio is that the image is saved on their CDN and a link is provided – no need to copy the image locally to the server.) Then I just hooked that data into my existing script and I was good to go. Twilio even lets you easily respond by sending a text message to the user, so that I could provide a confirmation or error message.
In conclusion
In conclusion, it was a lot of work and hassle for something simple and pointless. But it was a lot of fun. I find it interesting to try and be creative in typically non-creative spaces, and I like trying to make things do something they were never intended for. And in the end it was also a great way to learn more features of Google Spreadsheets.
Select Images:
